
 How to Use a Gems Picker Tool (Like a Pro!)
 If you love adding rhinestones, crystals, or charms to your nail designs, a gems picker tool is a total game-changer! Here’s a simple guide to help you use it easily and flawlessly:
1. Prep Your Workspace
Make sure your rhinestones or gems are placed in a small tray or container where you can easily reach them.
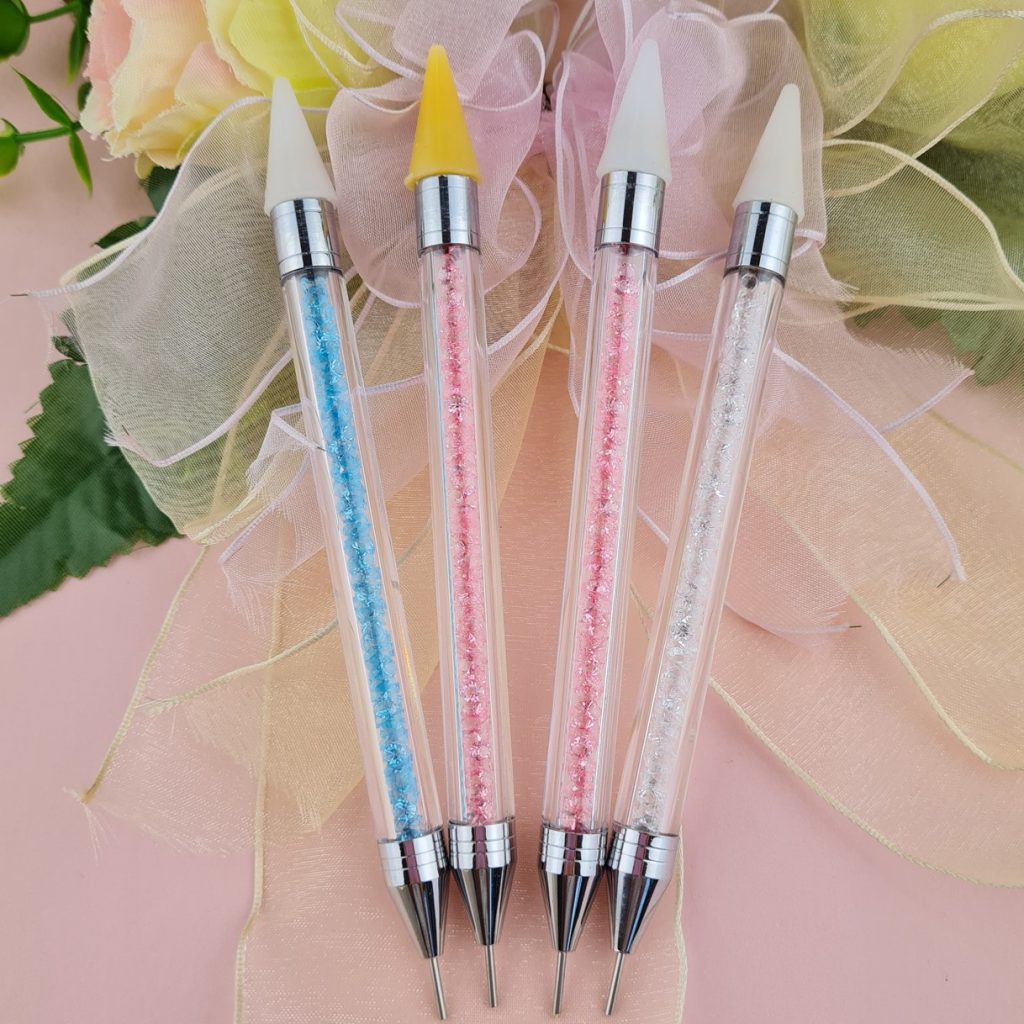
2. Use the Sticky Tip
Most gems picker tools have a wax or sticky tip. Gently press the tip onto the top of the gem—no need to squeeze! It will pick up the gem effortlessly.
3. Apply Your Adhesive
Add a small dot of nail glue, gel, or top coat to the spot where you want the gem. Don’t apply too much—just enough to hold the gem in place.
4. Place the Gem
Hover the gem over the spot and gently touch it down. Use the metal end (or silicone end) of the tool to push or slide the gem into perfect position.
5. Cure or Dry
If using gel, cure under a UV/LED lamp. If using nail glue or polish, wait until fully dry before touching.
6. Seal the Look
Apply a top coat around (not on top of) the gems to secure them and help them last longer.
How to Use a Gems Picker Tool (Like a Pro!) If you love adding rhinestones, crystals, or charms to your nail designs, a gems picker tool is a total game-changer! Here’s a simple guide to help you use it easily and flawlessly:
 1. Prep Your Workspace Make sure your rhinestones or gems are placed in a small tray or container where you can easily reach them.
2. Use the Sticky Tip Most gems picker tools have a wax or sticky tip. Gently press the tip onto the top of the gem—no need to squeeze! It will pick up the gem effortlessly.
3. Apply Your Adhesive Add a small dot of nail glue, gel, or top coat to the spot where you want the gem. Don’t apply too much—just enough to hold the gem in place.
4. Place the Gem Hover the gem over the spot and gently touch it down. Use the metal end (or silicone end) of the tool to push or slide the gem into perfect position. 
5. Cure or Dry If using gel, cure under a UV/LED lamp. If using nail glue or polish, wait until fully dry before touching.  6. Seal the Look Apply a top coat around (not on top of) the gems to secure them and help them last longer.